Every day we find ourselves asking the same question…what to pack for lunch?? Whether you plan it the night before or make it in the morning, there just never seems to be enough time. To add to the stress of it all, we have to pack for our husbands and one day kids too?! Ahhh! Most of the time we find ourselves giving up the battle and just grabbing something close to work, not knowing the real nutritional value and content, and of course spending a fortune. As people say, “the struggle is real.”
To help with that struggle we teamed up with nutrition expert and a personal friend of ours to help us find a healthy and pocket friendly routine for our busy lives. And the answer to what’s for lunch?
Mason Jar Salads!!
Meet Elise of Kale and Chocolate! A doggy loving and attorney turned certified eating psychology coach who has created an inspirational and encouraging web site that we can’t get enough of. She shares ridiculously delicious and healthy recipes along with motivating her readers to live a healthier and better lifestyle. Elise knows a thing or two about juggling life with work, family, personal life and so much more- all while eating, living and preaching HEALTH!
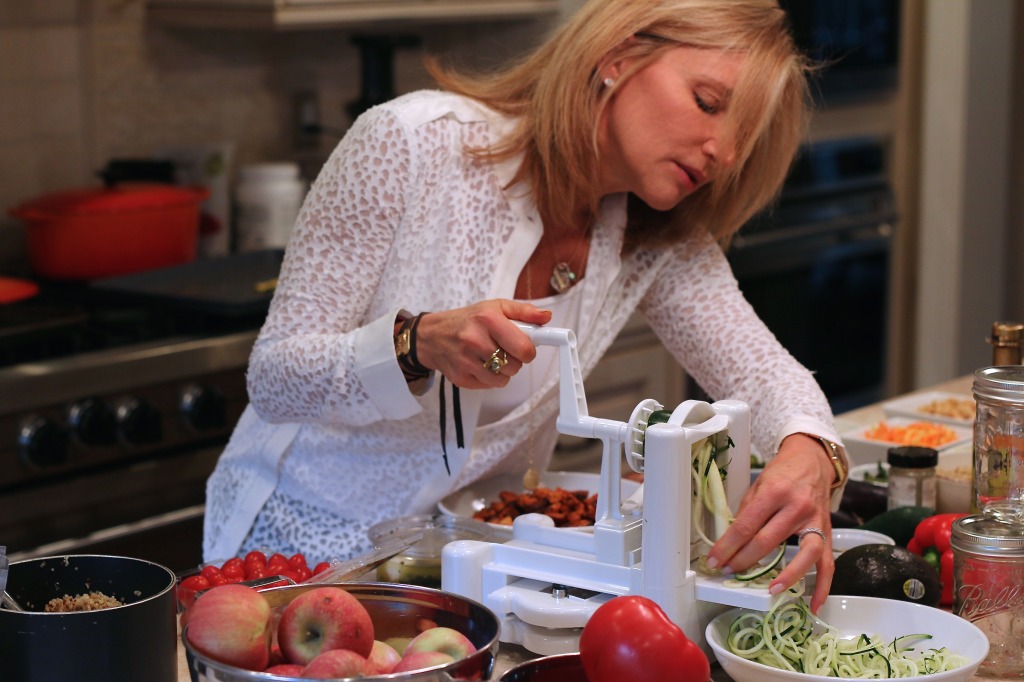
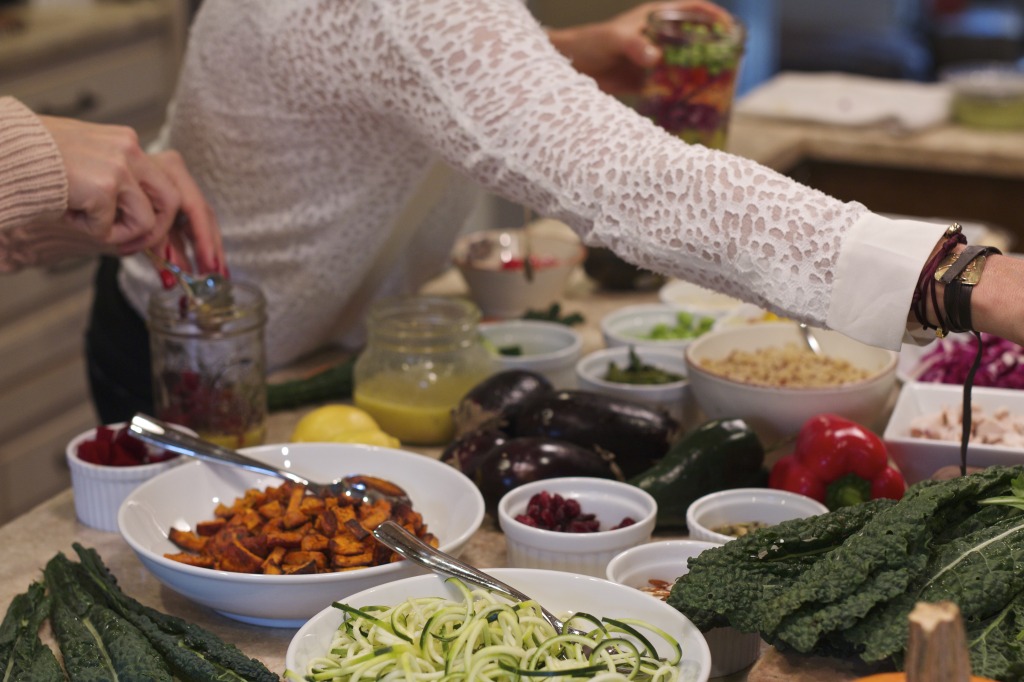
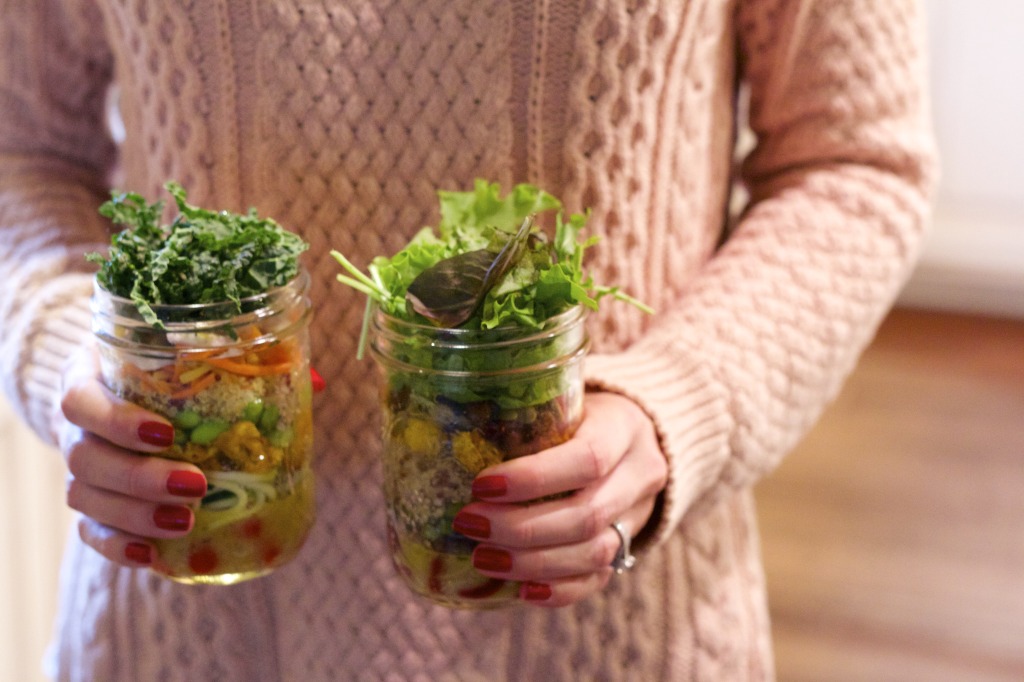
Elise shared her post, Shake It Up: Mason Jar Salads recently and afterwards had an “Aha” moment. Daily we are plagued with the daunting task of creating interesting and healthy lunches that we will actually look forward to eating when lunch time rolls around and most time we fail at this. After learning about Elise’s jars we knew we had to meet up with her to teach us her method on creating these colorful meals packed with layers of nutritious goodness. It was surprisingly much easier than we had anticipated. They key was organization and preparation beforehand. Meal planning ahead of time really takes the stress out of those already manic mornings and we promise when you open your fridge and see a colorful assortment of mason jars you will already be looking forward to lunch time!
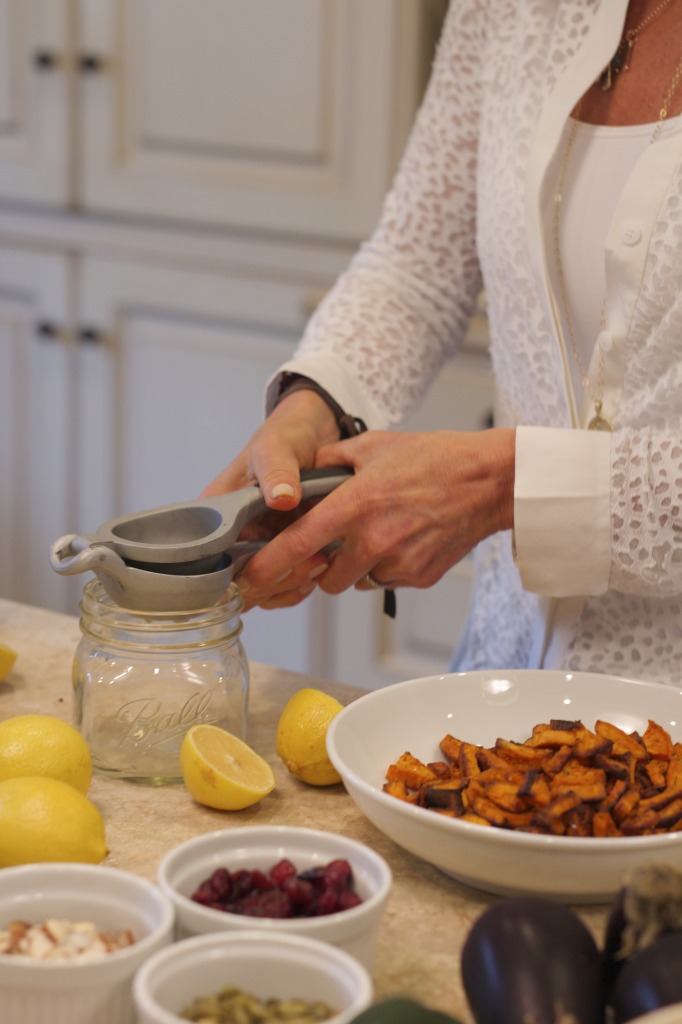
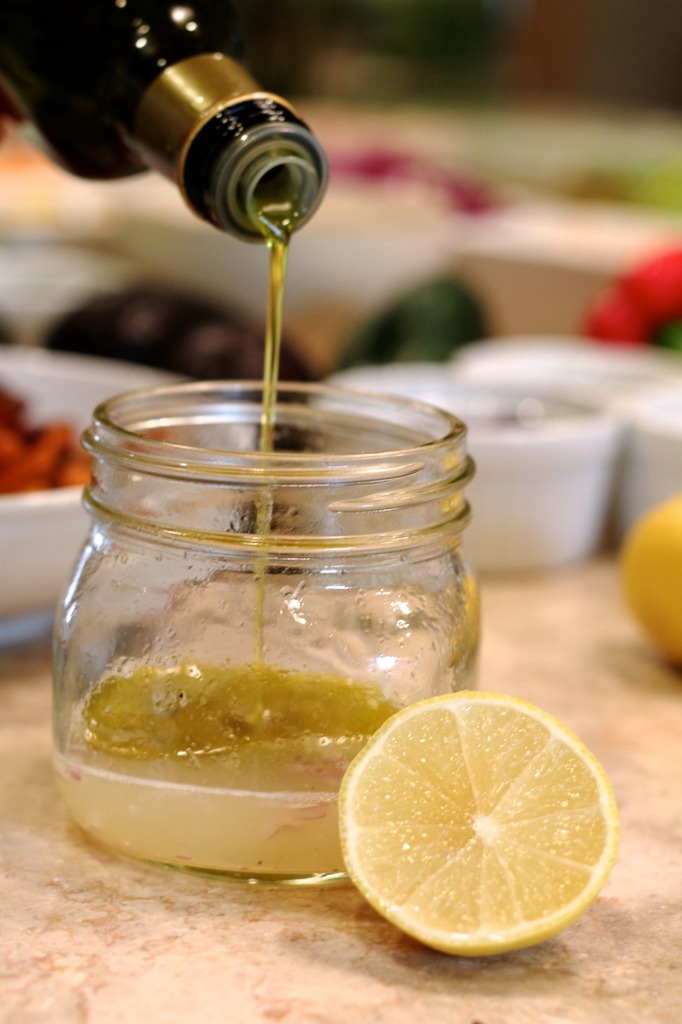
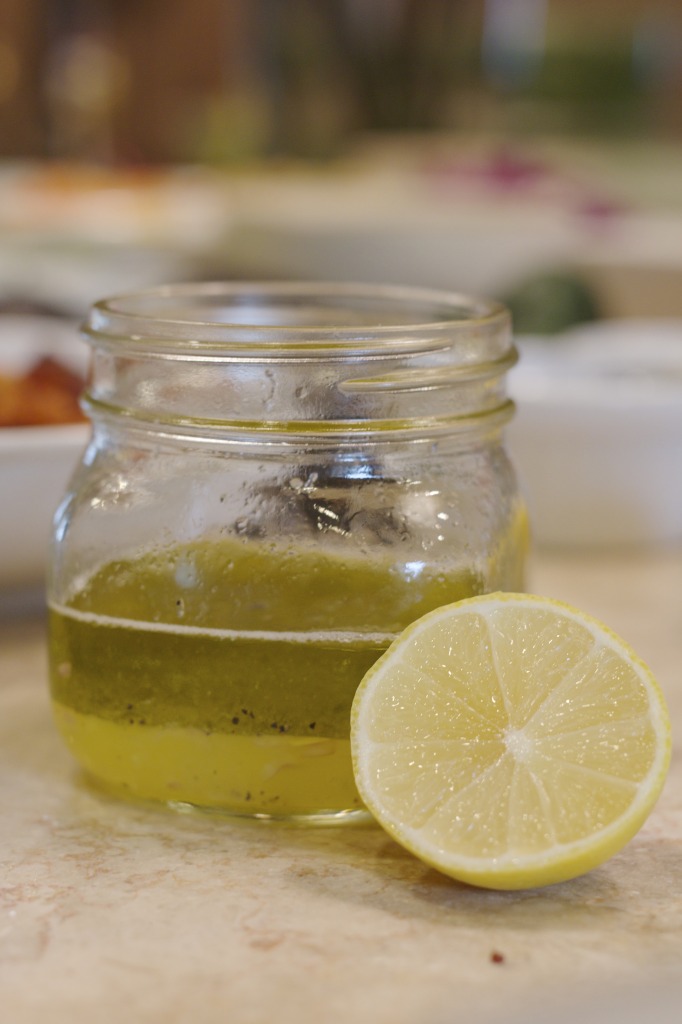
First we made a super simple yet AMAZING dressing which is easy to make and tastes good with every salad that we put together. Dice up half a shallot and add to the jar, squeeze 1-2 lemons in a container and pour in equal parts olive oil. Choose your own flavors to make it to your liking. We added a dollop of dijon mustard, a teaspoon of agave nectar or maple syrup, salt and pepper to taste and fresh or dried herbs (parsley, oregano, basil) and you are done. Just Shake it up and you are ready to enjoy!
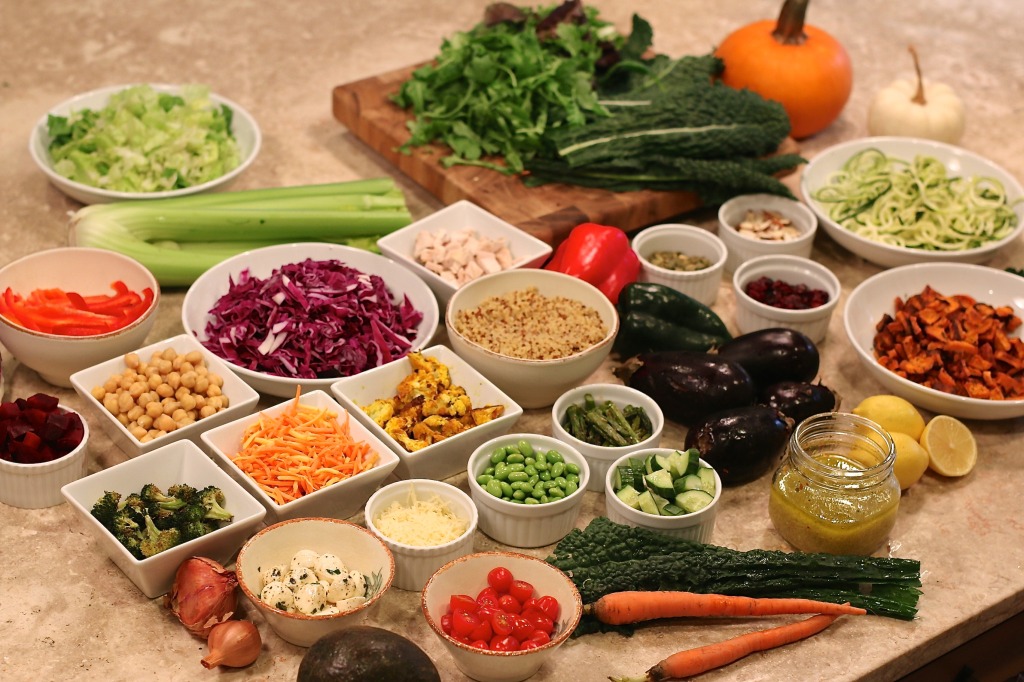
We didn’t want to share specific recipes or ingredients, but more so the bigger picture concept behind this genius idea. Elise shared with us some helpful tips that inspired us to get started.
Mason Jar Size: Use a wide mouth jar that’s easy to fill … and easy to dig into. The pint size is perfect for an individual salad and is deceptively bigger & more filling than it looks. If you pack it with nutrient-dense ingredients, it should keep you full for hours. For larger salads, use the quart size.
Pick a theme. Think Mediterranean, Mexican, Asian-Inspired, Italian and then build your salad with all the flavors and ingredients accordingly.
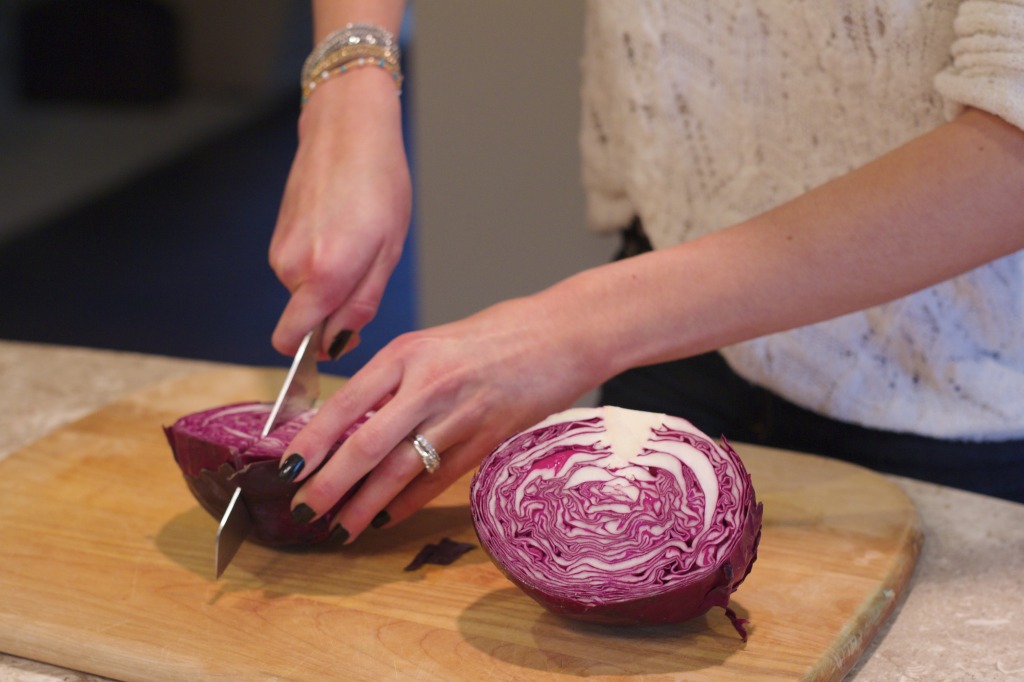
Raid the fridge for leftovers (or intentionally make extra). My personal favorite is to roast lots of veggies at the beginning of the week, make some extra protein and cook a batch of quinoa or other grains. Then, when it comes time to filling all the jars, mix & match to create a variety of perfectly balanced lunches to keep things interesting all week long. (No two salads are alike, so you can kick lunchtime boredom goodbye!)
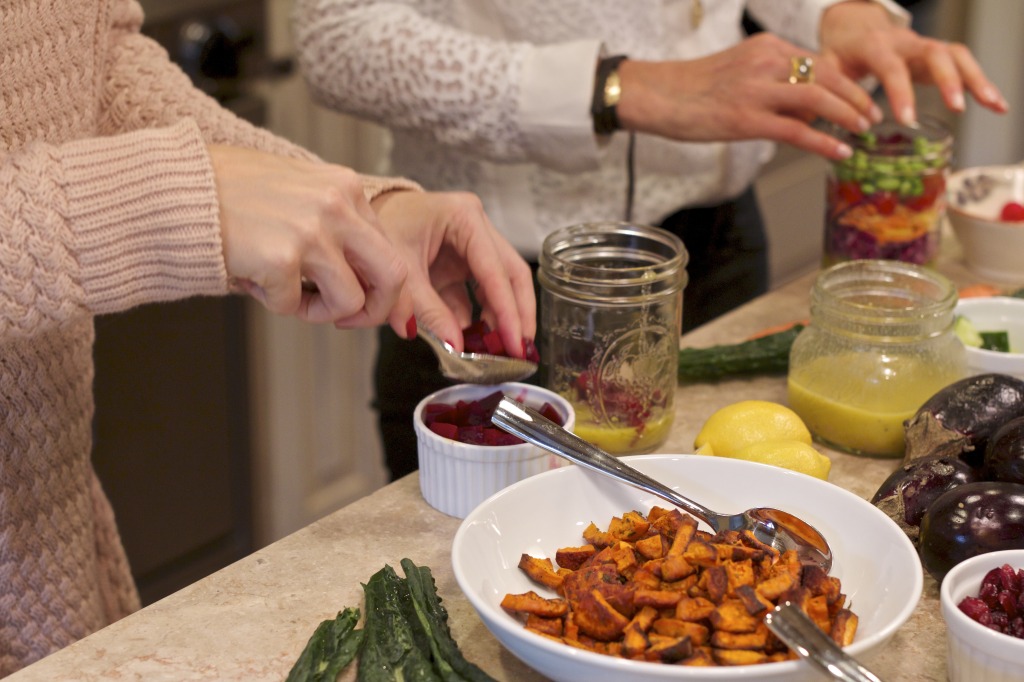
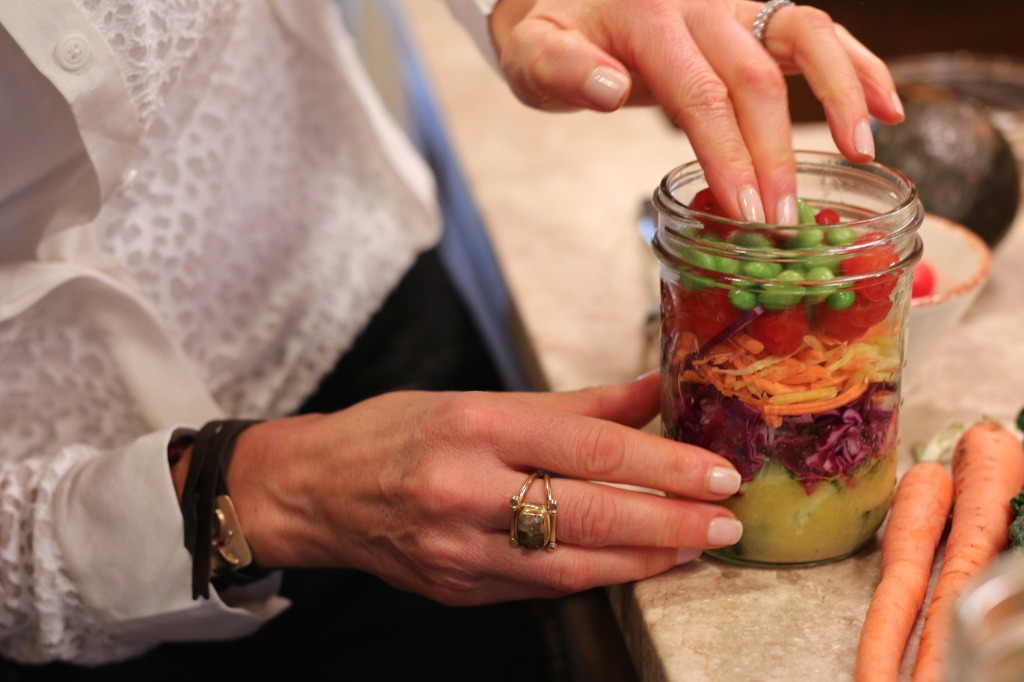
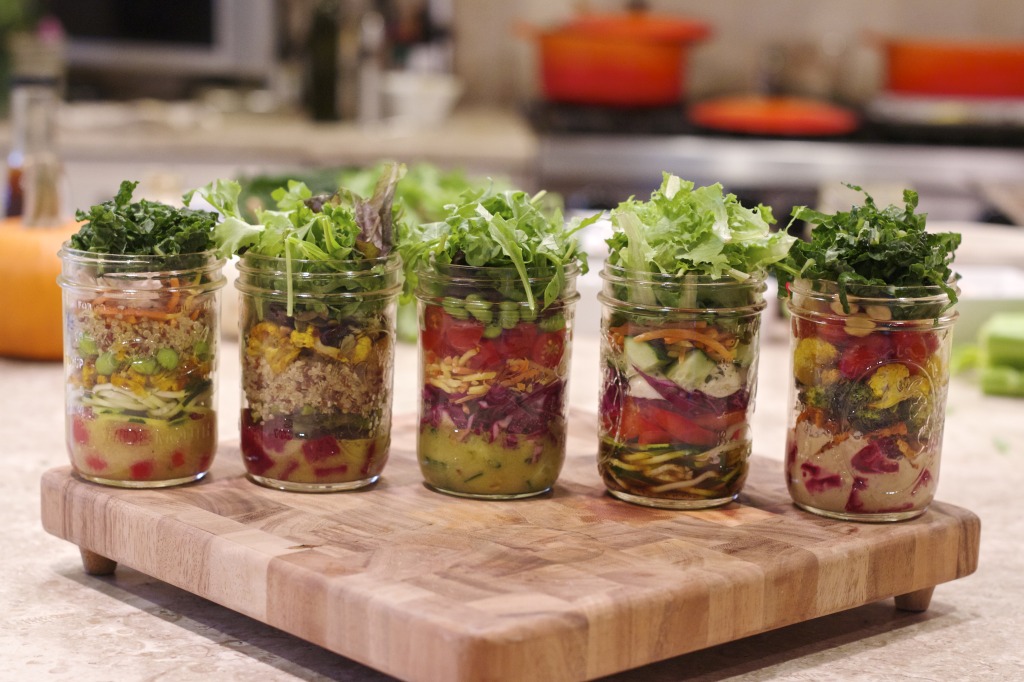
Now that we have picked our choice of ingredients and are prepped and organized, it’s time to start packing and layering our salads! Here a few more helpful tips that Elise shared to keep each and every bite of your salad fresh and crisp.
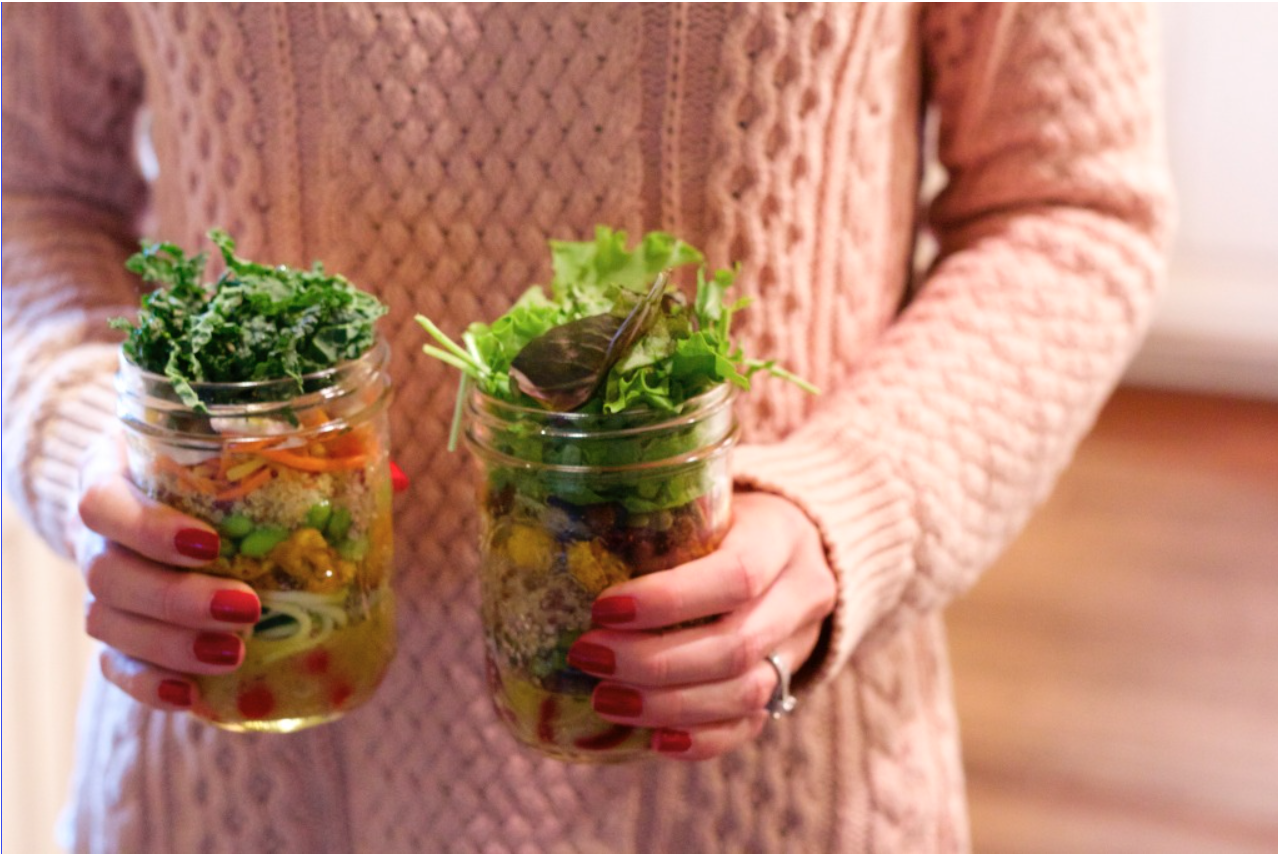
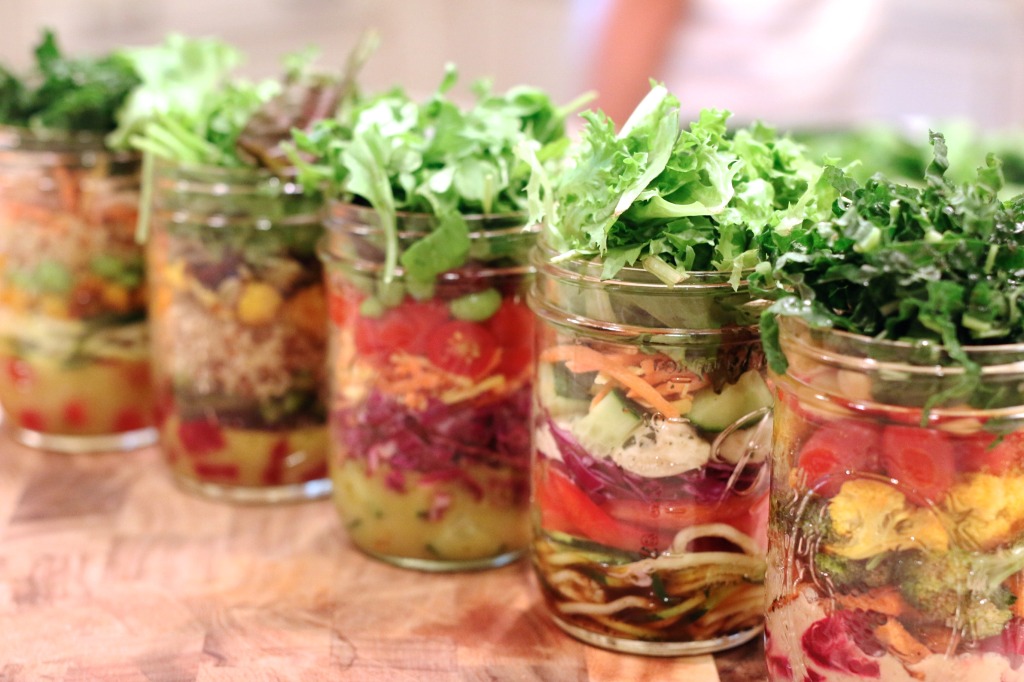
Dressing: Wet ingredients go on the bottom. If you keep the mason jar upright, the dressing will not mix with the rest of the salad until you’re ready to eat it. You can also use hummus or pesto instead of traditional salad dressing. Anything else with a marinade should stay close to the bottom as well.
Hard Vegetables: Veggies like carrots, cucumbers, peppers, celery, onion, zucchini and cooked beets can be layered on top of the dressing because they are not as absorbent.
Softer Fruits & Veggies: In the middle, place the more absorbent veggies like avocado, tomatoes, berries or citrus fruits. (If using avocado, add a squeeze of lemon to prevent browning.)
Grains, Beans, Nuts, Seeds & Proteins: These nutritional powerhouses stay fresh closer to the top. The nuts and seeds seem to maintain their crunch if placed right below the top layer. (Note: beans can also go near the bottom, but I prefer to keep the protein layer up top.)
Greens: Last but not least, fill the remaining part of the jar with as much leafy green goodness as you can possibly fit in. (And bring some extra greens if you’re inspired. I do!)
It’s that easy! A whole week of lunch packed and ready for you and the whole family. Now you can use that extra time spent brainstorming to enjoy a cup of joe in the morning instead.
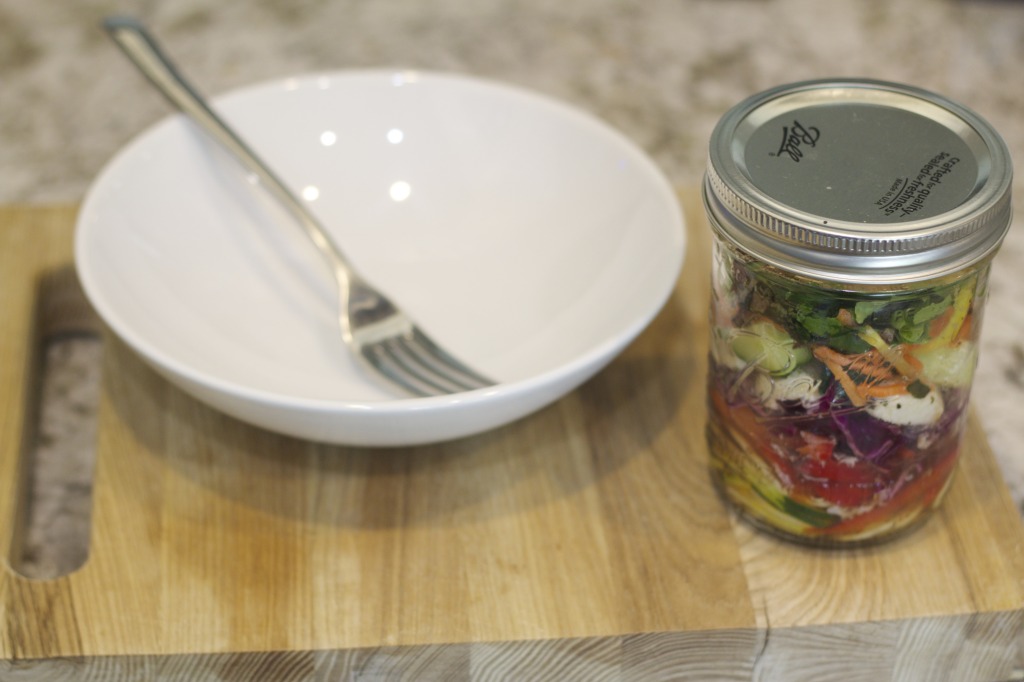
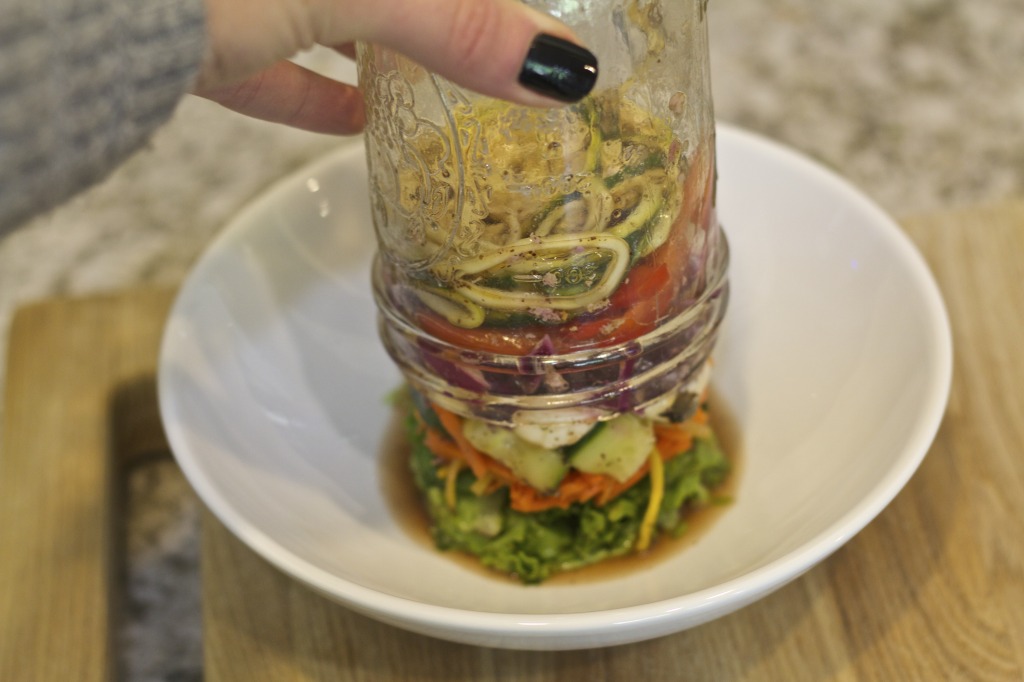
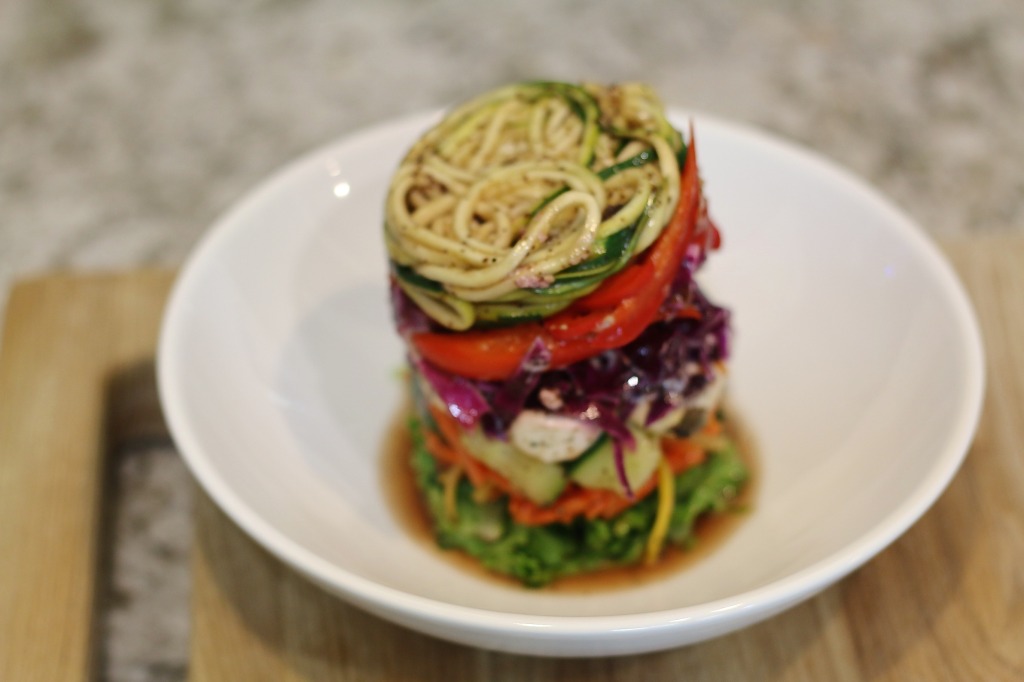
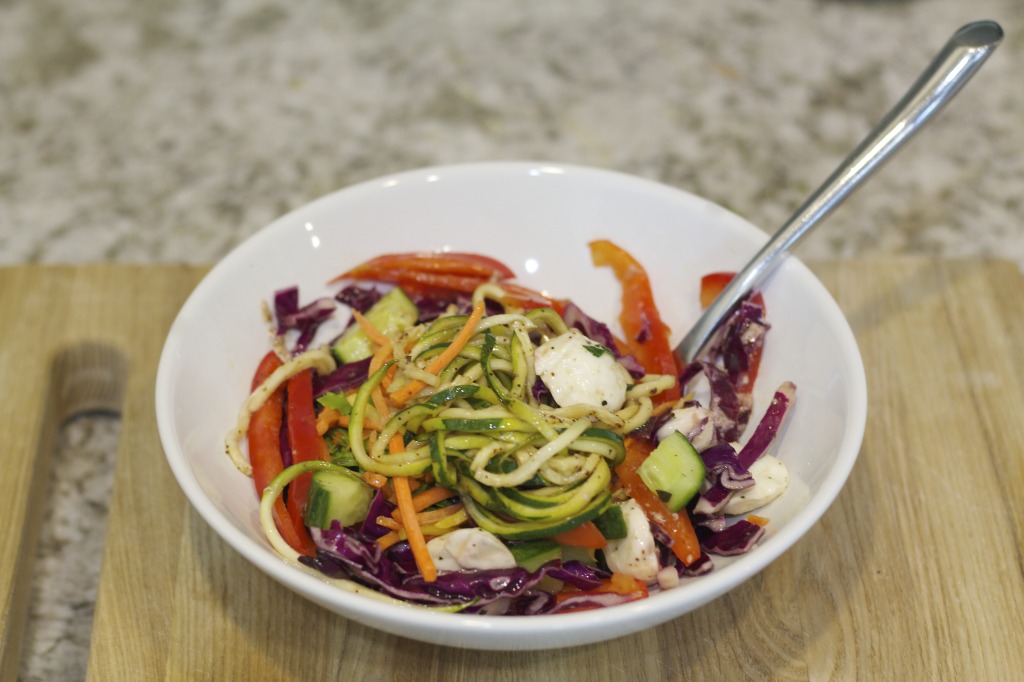
Now for the “Flip” when you are ready to deconstruct the salad you already made. Turn the jar over and boom – a fresh salad that stayed crisp until lunchtime. Or shake it up and eat right from the jar. It’s just that easy!
Cheers! We hope this post inspires you to think outside the box and get creative with your own personal touch in each mason jar!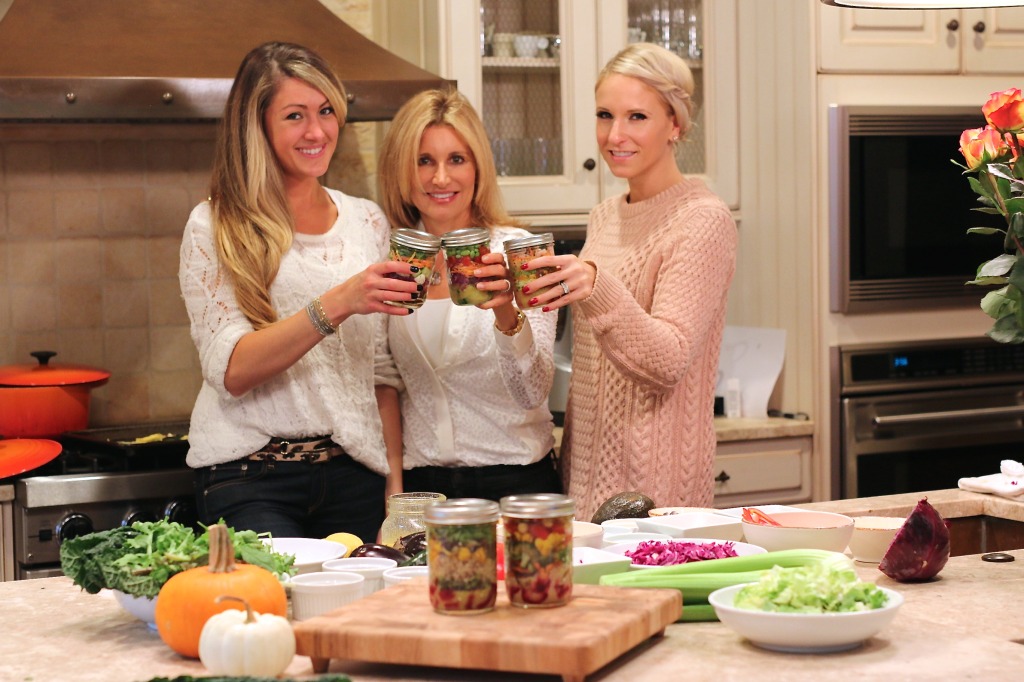
Try it out for yourself and share your favorite theme and ingredients with us!
xo
Michelle & Sarah



No Comments
Susan Neithamer
October 28, 2014 at 8:31 am“Brilliant” Can’t wait to try it!!!!
KFinn
October 28, 2014 at 12:07 pmI love it so much. Great share.
carol Canfield
October 30, 2014 at 11:10 pmDo you have a cookbook? The Mason Jar salads were delicious.